Introduction
There’s a wide variety of camera shots. To make communication within the technical crew easier, you need to establish a set of rules to give a name to the framing you want.
In this post you’ll learn how camera shots are categorised and how to recognise them instantly.
Cinematic shots (types of film shots)
Every type of shot must have three specific characteristics: a size, an angle and a point of view. Depending on these characteristics, it will be one type of shot or another.
Shots by their size
A shot’s framing can have different sizes, and this determines the first part of the shot’s name. We’ll start with the widest shots and move towards the tightest.
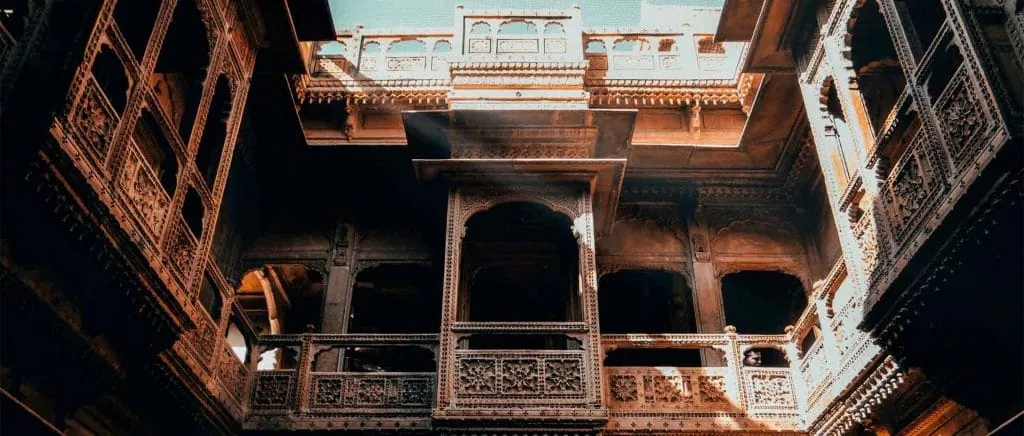
Extreme wide shot (EWS):

This type of shot refers to a very, very wide framing. It’s often used to introduce locations or to convey a character’s loneliness.
An extreme wide shot is the result of careful planning and execution. Taking the wind, light, angle and distance into account, a photographer can capture a truly stunning image.
The key is to take the time needed to prepare the shot before pressing the shutter. Once you’ve found the perfect composition, all that’s left is to wait for the right moment to capture it. With a little patience and practice, anyone can learn to take shots like these.
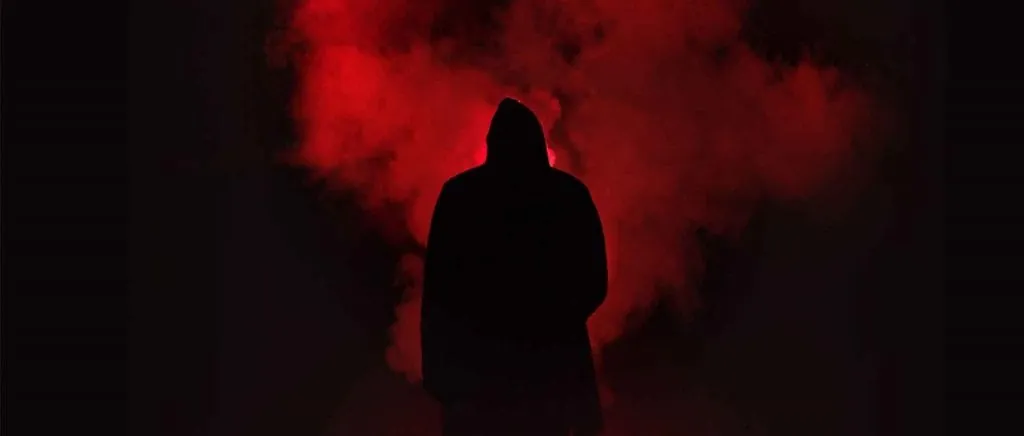
Wide shot (WS):
It’s slightly tighter than the extreme wide shot, but in essence it’s a very similar shot in terms of how wide the framing is.
This type of shot is usually used to establish the scene and give an idea of the character’s surroundings. It can also be used to capture emotions and reactions.
Wide shots are often used together with other types of shots, such as close-ups and medium shots, to create a more complete picture of the story. When used effectively, they can help create a more immersive experience for the viewer.
Two shot / group shot (GS):
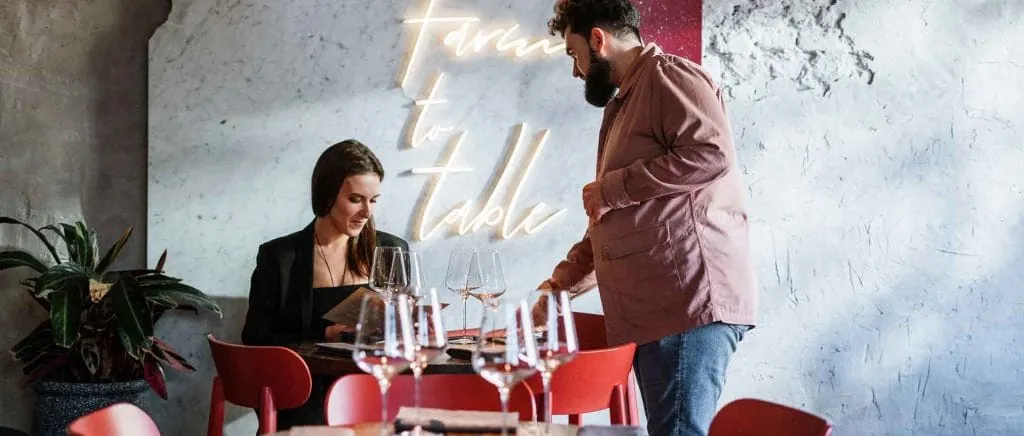
This is a tighter framing than the wide shots, but one that still allows two or more characters to appear in frame.
Cowboy shot / American shot (AS):
This refers to the framing that covers the character from the knees to the head. In Spanish-speaking countries it can also be called a “long medium shot”.
This type of shot is often used to introduce a character or to show the subject within their environment. The long medium shot can also be used to create a sense of scale, since it lets the viewer see both the subject and their surroundings.
Although the long medium shot isn’t as intimate as a close-up, it provides more information than a wide shot. It is therefore a versatile tool that can be used in many different ways. When used effectively, it can help create a powerful and evocative cinematic experience.
Medium shot (MS):
This shot frames the character from the waist to the head. In film and television, a medium shot is a camera angle that shows the subject from the waist or the chest up. It’s a standard framing for interviews, conversations and other dialogue-heavy scenes.
Medium shots can also be used to show characters performing simple actions, such as typing on a computer or making a phone call. When combined with close-ups and wide shots, medium shots help create a complete story that draws the viewer in.
So the next time you watch your favourite show, pay attention to the camera angles being used. You might just realise how important medium shots are for telling the story.
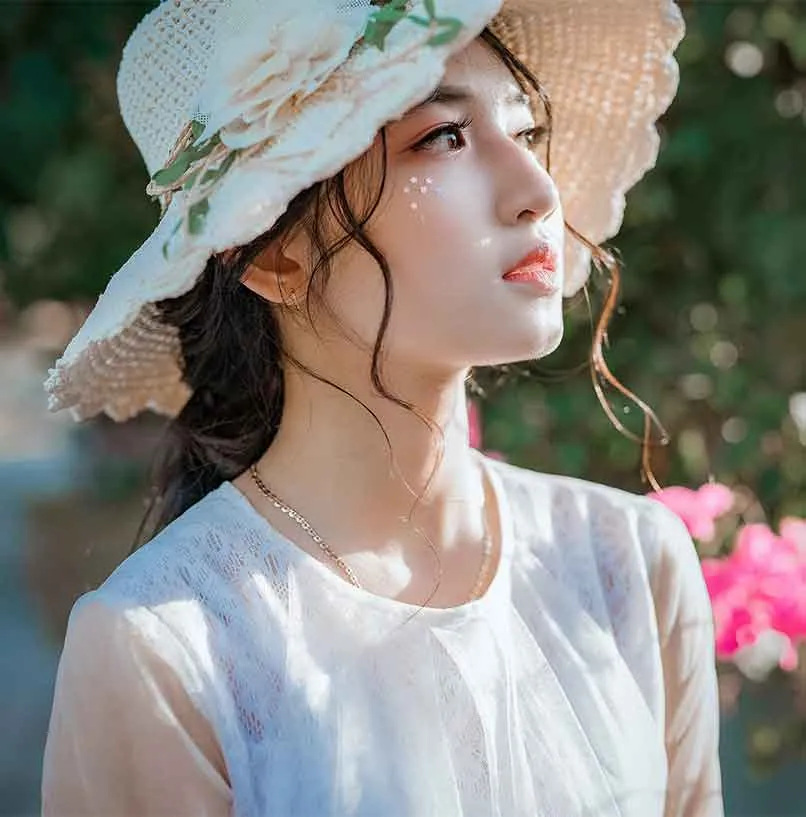
Close-up (CU):
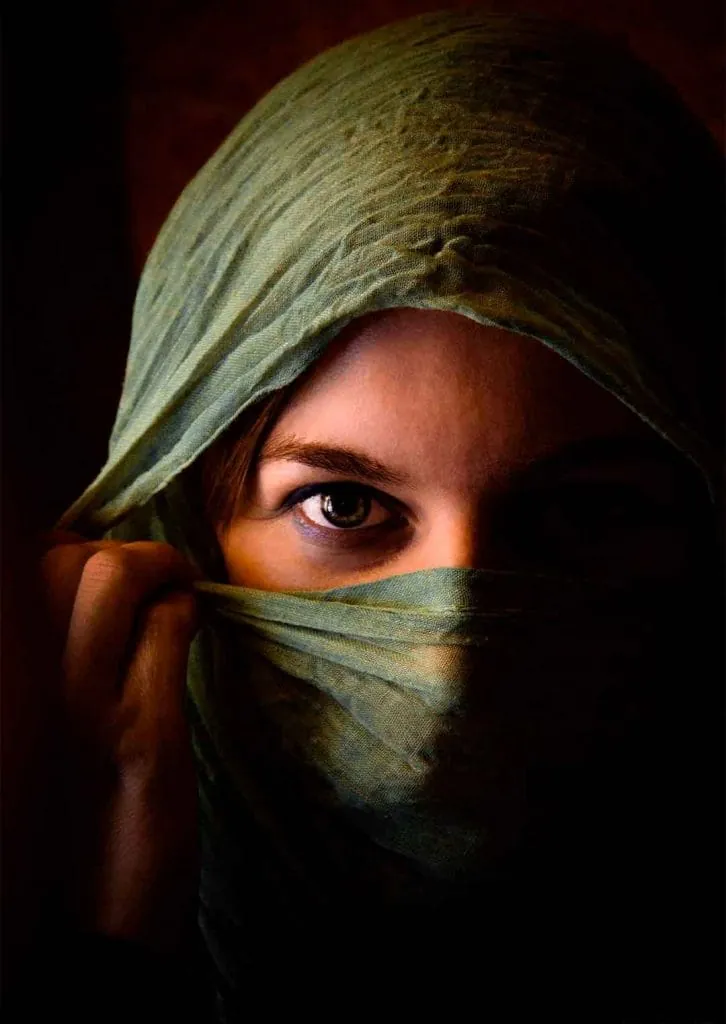
The close-up is a tight shot of the character’s face, cutting just below the chin. A close-up is a cinematic technique that lets the viewer see details that would otherwise be invisible.
It can be useful for revealing expressions and emotions, as well as for providing information about the character’s appearance. Close-ups are often used together with others, such as wide shots and medium shots, to create a more complete picture of the scene.
When used effectively, close-ups can help create a more intimate visual experience.
Extreme close-up (ECU):
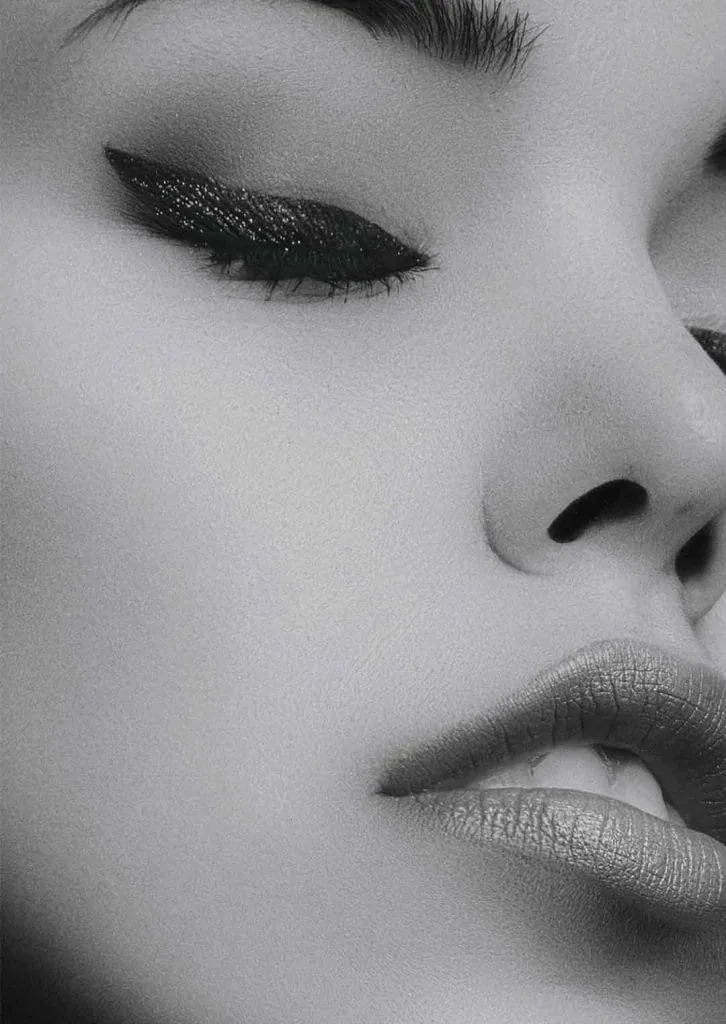
It’s even tighter than the close-up, cutting above the chin and above the eyebrows. In cinematography, an extreme close-up is a close-up in which the subject fills the frame.
This type of shot is often used to emphasise a character’s emotions or to create a sense of intimacy. It can also be used to highlight small details that might otherwise be lost in a wider shot.
When filming an extreme close-up, it’s important to use a lens with a very short focal length to avoid distortion. This type of shot is usually used sparingly, as it can be quite jarring for viewers if used too frequently.
However, when used correctly, it can be a powerful tool for telling a story in the film.
Insert / detail shot (ECU):
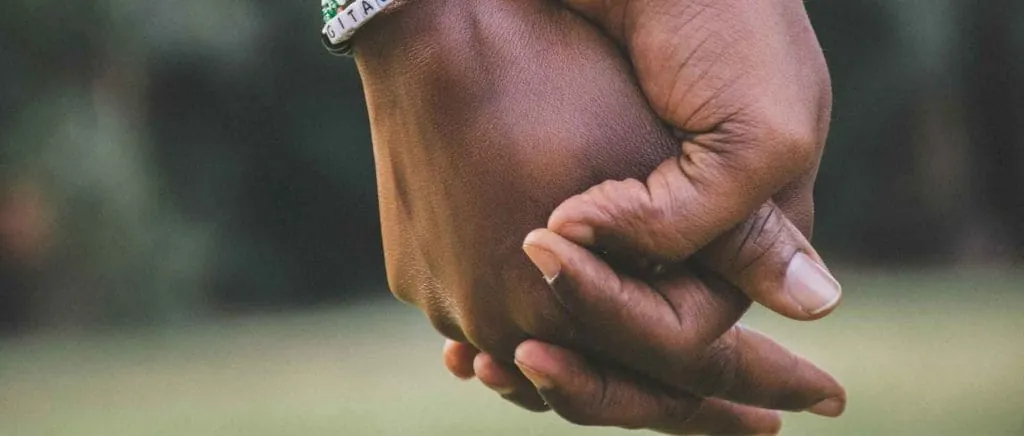
This type of shot refers to very tight shots that portray a specific object or a very particular action.
As a general rule, the tighter the shot and the closer it is to an extreme close-up, the more tension and emphasis it will have. Conversely, the wider the shot, the greater the emotional distance between the viewer and the character.
That said, it doesn’t always have to be that way. You need to know the rule in order to learn how to break it.
I personally encourage you to experiment for yourself with shot sizes and the feeling you can produce in the viewer.
Shots by their angle
Another characteristic to bear in mind when naming a shot is its angle relative to the character or object being portrayed.
To analyse this characteristic we need to make another subdivision: the vertical or horizontal axis.
Vertical axis:
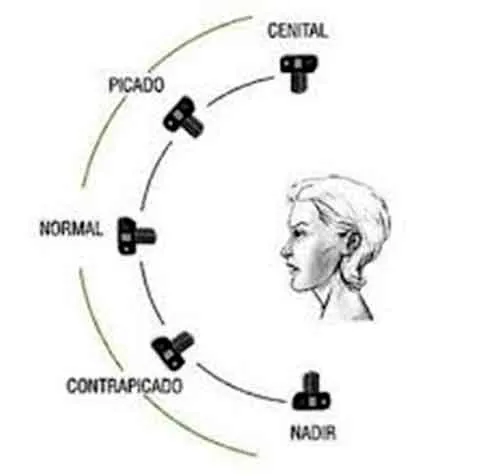
Overhead / bird’s-eye shot:
This is the type of shot that portrays the character or object completely from above. The overhead shot is a technique that consists of filming a scene from above. This unique perspective can help create a sense of drama or tension, and it can also be used to highlight certain features of the landscape.
To achieve this perspective, the camera must be placed at a high point, such as on a hill or a building. From this vantage point, the camera can capture the full scope of the scene below.
Overhead shots are often used in action or suspense films, since they can add a sense of urgency or danger to the story. However, this technique can also be used in calmer settings, such as in documentaries about the natural world.
Whatever the subject, overhead shots add an element of interest to any film.
High-angle shot:
Without being completely on the vertical axis, the framing comes from a greater height than the character or object. This type of shot is widely used to show superiority over that character.
A high angle is a type of camera angle taken from above the subject. This technique can be used to make the subject look small or insignificant, or to create a sense of unease or vertigo.
High angles are often used in suspense and horror films to heighten tension and create a sense of fear in the audience. They can also be used in comedies to make characters look silly or clumsy.
In general, high-angle shots are used to convey a sense of helplessness or vulnerability. When used effectively, they can be a powerful tool for creating an emotional response in the viewer.
Eye-level shot:
When the shot is frontal to the character. When the vertical angle is frontal it usually isn’t stated; unless specified otherwise, it’s understood to be a frontal shot.
Low-angle shot:
This is the opposite of the high-angle shot, with a similar angle but from below the character. It’s usually used to give the character importance. A low-angle shot is a camera technique that consists of pointing the camera upwards, towards the subject.
This perspective can make the subject seem larger than life, and it’s often used to convey a sense of power or dominance. Low-angle shots are also sometimes used to create a sense of unease or foreboding, as the viewer feels like they’re looking at something that could harm them.
Whether you want the subject to look heroic or threatening, a low-angle shot is a good way to achieve the desired effect.
Worm’s-eye / nadir shot:
This is the antonym of the overhead shot; this shot views the scene from below. This type of shot is often used to capture the details of an object that would be hard to see from ground level, such as the interior of a building or the top of a mountain.
Worm’s-eye shots can also be used to create a sense of scale, showing how small human beings are in relation to their surroundings. To take a worm’s-eye shot, simply point the camera upwards.
For the best results, use a tripod to keep the camera steady. Experiment with different angles and viewpoints to get the shot you want.
Horizontal axis:
Frontal:
This is when the camera is in front of the character or object being framed.
Three-quarter:
The three-quarter framing refers to the type of shot that portrays the character diagonally, that is, between the frontal and the side shot.
Side / profile shot:
Portrays the character completely in profile.
Over-the-shoulder shot:
The over-the-shoulder shot is the type of shot that portrays a character from behind. The term is also used to refer to a part of one character that enters another character’s shot.
Dutch angle (canted shot): This type of shot is used to generate tension by creating diagonals. Canting the shot means rotating the camera on its own horizontal axis to throw the horizon off balance.
By point of view
Objective shot:
This is when the camera is at a neutral point, observing the scene without intervening with the characters in any way.
Semi-subjective shot:
The shot shows what the character is seeing or where they’re focusing their attention, while still keeping the character within the shot itself.
Subjective shot:
It’s similar to the semi-subjective shot, but it differs in the character’s presence in the shot. This type of shot is easy to confuse with a first-person shot.
First person or POV (Point of view):
This shot aims to place us completely in the character’s eyes, turning the viewer into the protagonist of the work.
Photographic shots
When it comes to choosing a name for the framing, we could use the same terminology you’ve just learned in this article.
Television shots
As for framing, we can use the same names as in film shots; however, the most commonly used ones in television are:
Group shot (GS):
It’s the most commonly used shot on television, since we usually have two or more presenters.
Medium shot (MS):
The most common thing on television is to see medium shots, from the waist up.
Shots in motion
There are different camera movements that give a shot an evolution of its own.
Zoom
The zoom is a type of lens with a variable focal length; this lets you change the framing without having to move the camera. There are two types of zoom movement:
Zoom in:
The shot becomes tighter.
Zoom out:
The shot goes from tight to wider
Tracking (travelling):
The tracking shot is really the camera support fitted with rails for smooth movement. Depending on its movements we can find:
Track in:
The camera moves closer to the character or object
Track out:
The camera moves away from the character or object
Camera movements on its own axis
Pan:
The pan is the movement of the camera from right to left or from left to right on its own axis.
Tilt:
The tilt is the movement of the camera from top to bottom or from bottom to top on its own axis.
Both movements can be performed simultaneously to create diagonal movements.
Dolly zoom (vertigo shot):
The zoom and tracking techniques can be used at the same time, creating incredible effects. The vertigo shot or vertigo effect consists precisely of combining both techniques.
It gets its name thanks to its invention by A. Hitchcock for his film “Vertigo”, in which, to represent the vertigo suffered by the protagonist, he combined the track out with the zoom in.
Conclusion:
To work out the type of shot and its name, you need to look at:
- The framing size
- Its angle
- The point of view
- The movement