What is 3-point lighting?
Three-point lighting is a standard photographic-studio lighting scheme that any kind of lighting aiming to create a sense of depth starts from.
Before explaining what this technique consists of, I’d like to clarify the reason for its importance.
The human being has a biological tool called stereopsis: it’s the brain’s ability to generate an image from two visual receptors (two eyes).
Through this process, the human being is able to understand the perspective and depth of the environment around them. Thanks to stereopsis, our mental agility is multiplied, since, on the one hand, we take in a wider field of vision, and on the other, we can make more accurate calculations of moving bodies.
Photography is a medium for reproducing vision that is limited in this respect, since it has a single light entry point and lacks movement.
To generate a sense of depth and perspective, classical painters invented techniques that we currently use in photography to achieve the same thing. See DaVinci’s sfumato, for example, foreshortening or the vanishing point.
For this reason it’s important to have certain notions of painting, since photography brings with it techniques inherited from hundreds of years ago.
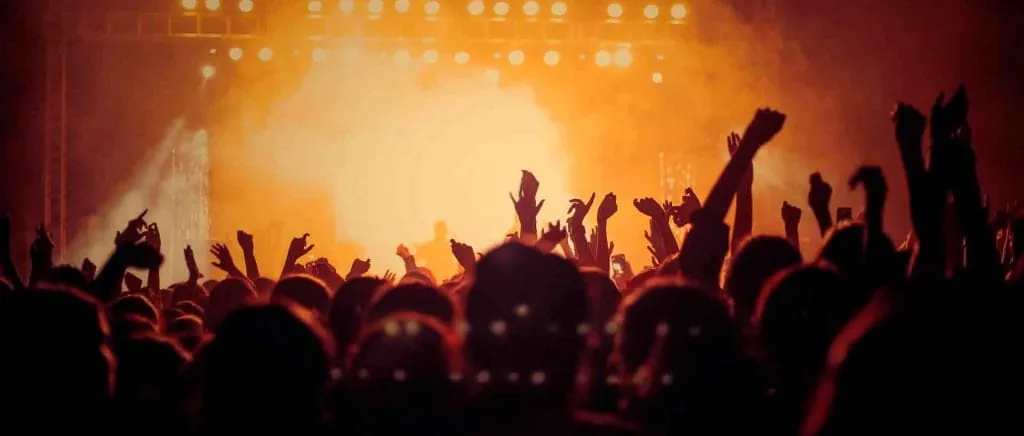
When it comes to lighting, what the photographer (or “cinematographer” — a term that in Spanish actually refers to the first film camera, but in English to the director of photography) is most interested in is separating the character from the background to generate that sense of depth. That’s when we begin to light in three points.
The idea of three-point lighting is to achieve depth by creating volume in the character through light intensity and direction, and separating them from the background by means of a backlight.
Starting a three-point lighting setup.
If what you want is to get a first taste of lighting in three points, the important thing is to know light intensities and directionality.
Usually a three-point set-up for an interview or a character in front of a green screen consists of a backlight, a key light and a fill.
Before talking about lighting ratios, you have to know where to place the units.
There’s a simple rule that works and, above all, helps when starting to light in three points. To avoid unwanted shadows, and to imitate the natural fall of light over facial features, position the units so that the light beam has a 45º inclination over the character. To do this, simply measure the height of the unit above the floor, place it that same distance from the character and aim it at their face.
The idea is to achieve volume, so avoid a very lateral or frontal light entry and aim to place it at three-quarters. To position the three units, imagine the Mercedes star from an overhead point of view, where the top arrow is the backlight and the lower ones the key and the fill.
Depending on the camera position you can reposition the backlight to one side or the other to avoid it. From that moment on you can start with the light ratios.
The simplest way to tackle it is to decide on an aperture for your key light, which will be the starting point and where you want to have the maximum information in the video signal. Once you have it, copy that intensity for your backlight and half of it for the fill.
Obviously, you can play with the intensities for the narrative intent of what you’re after, and not nail ratios of 2:1, 4:1, etc., etc. This is still an artistic expression, so let yourself go and experiment.
Remember that light is a physical phenomenon that follows rules it abides by to interact with the medium. If you know them, you can foresee what results you’re going to get. Study the physical principles of light and apply that knowledge to artificial lighting to seek naturalness.

Experimenting from three-point lighting.
The more you experiment in the field of photographic lighting, the better the results you’ll get, and this obeys two rules: physical knowledge and play.
Light behaves as a wave and a particle at the same time, and its speed and direction depend on the medium it passes through at each moment.
The speed of light is calculated for travel in a vacuum, but since that isn’t the medium we live in, our experience with light varies constantly, and that’s what we want to understand in order to replicate its behaviour in a controlled way.
Without going into wave physics, I’m going to give you a couple of basic notions so you can start getting more realistic results and have a starting point from which to experiment and learn.
The two characteristics of light you’re most interested in are colour reproduction and the hardness of the shadows.
Whenever you find yourself faced with the dilemma of which unit to use to start lighting in three points within the vast offering on the market, remember the following: the hardness of the shadows depends on the distance and size of the source.
The greater the distance or the smaller the size of the source, the harder and more defined the shadows will be. On the contrary, if you’re after softer shadows, increase the size of that same source. For this, frames are used in front of the more directional units, as well as fluorescent or LED panels.
The measure of colour reproduction is the CRI (Colour Rendering Index), and each unit has a different CRI.
When it exceeds 97% it gets more expensive, and it’s one of the characteristics you’re most interested in when choosing your lighting source. This doesn’t mean the unit can emit many different colours, but that the white level it operates at (WB) has the capacity to reproduce a wide chromatic range of the bodies it acts upon.
Whenever we light characters in a natural environment we’re interested in playing between daylight or artificial light, and this has to do with the white balance, traditionally 5600ºK to 6000ºK outdoors, due to atmospheric light, and 2800ºK to 3200ºK indoors, due to traditional tungsten sources.
That said, I’m going to tell you how to do a three-point lighting setup with two light sources in a natural way.
In this case we’re going to work from your camera axis; this is important because we always avoid the photographic shot in favour of the lighting — that is, having the key light come from the same angle the camera is positioned at. Find the shot that interests you most and light from there. We’re going to work with backlight to light the whole scene.
When you have the camera, place your backlight on the other side of the axis without seeing the unit. Then place your key light so that the most lit part is the side of the face that least favours the camera. Keep rotating around the character until that source subtly invades the other side. Once you have both, place a reflective surface, this time on the camera axis, for the fill; that way you’ll gain detail in the shadows and volume throughout the whole scene.
Remember what was said about the hardness of the shadows: use a large or diffused source as the key light; this way, the light will fall more subtly on the other side of the face, avoiding hardness in the character’s features.
Start with domestic units and run tests; always try to have the light intensity fall as it gets closer to the camera. You don’t want to have a hot spot in the foreground and a poor background, because this way you lose detail in the scene’s setting. As you experiment, consider going for more professional-use units that let you control the beam and the direction of the source.