An ND filter is a camera accessory that helps reduce the amount of light entering the lens. This can be useful in several situations, such as shooting landscapes on a bright day or using a slow shutter speed to capture motion.
ND filters come in a wide range of strengths, and can be used alone or stacked to produce the desired effect. When choosing an ND filter, it’s important to consider the lens size, the aperture and the shutter speed.
With a bit of experimentation, ND filters can help you open up new possibilities for creative photography.
How does an ND filter work?
A neutral density filter is a type of filter that absorbs light without changing its colour. These filters are usually made of glass or plastic and can be square or rectangular.
Neutral density filters are used in various photographic applications, such as blocking excess light when shooting at a slow shutter speed or a wide aperture.
They can also be used to create a longer exposure time, which can produce unique effects, such as blurring moving objects or making static objects appear to have streaks of light.
In addition, neutral density filters can be used to reduce the overall brightness of an image, allowing for greater creative control during the editing process.
Types of neutral density filters
There are three main types of neutral density filter: solid, graduated and variable.
Each type of ND filter has its own advantages and disadvantages, and the best choice for any situation depends on the desired result.

Ranges of ND filter densities
ND filters come in a range of densities, each with its own purpose. Lower-density ND filters are usually used to reduce the amount of light entering the lens, which can be useful when shooting in bright conditions.
Higher-density ND filters are able to reduce light to a greater extent, making them ideal for use in very bright situations or for creating long-exposure effects.
The highest-density ND filters can completely block incoming light, which can be useful to protect the camera’s sensor from possible damage. Whatever the situation, there’s an ND filter that can help you achieve the perfect exposure.
ND filters come in a range of densities, from 1 stop up to 10 stops. The most common ND filters are 3 and 6 stops. A 3-stop filter reduces the amount of light entering the camera by 1/8, while a 6-stop filter reduces the amount of light by 1/64.
The higher the density of the filter, the greater the reduction of light. ND filters are used to achieve various effects, from reducing the brightness of sunlight to lengthening exposure times for night photography.
By closing the aperture or using a slower shutter speed, ND filters give photographers greater control over their images.
Why use neutral density filters in your photographs?
Neutral density filters are a very popular photographic accessory, especially among landscape photographers.
Neutral density filters are placed in front of the lens and used to reduce the amount of light reaching the camera’s sensor. This lets the photographer control the brightness and contrast of the image, resulting in a more dramatic picture.
Neutral density filters can also be used to create special effects, such as smoothing the movement of clouds or opening up the sky. If you’re looking for a way to improve your photographs, you should definitely consider using neutral density filters!
Using ND filters in landscape photography
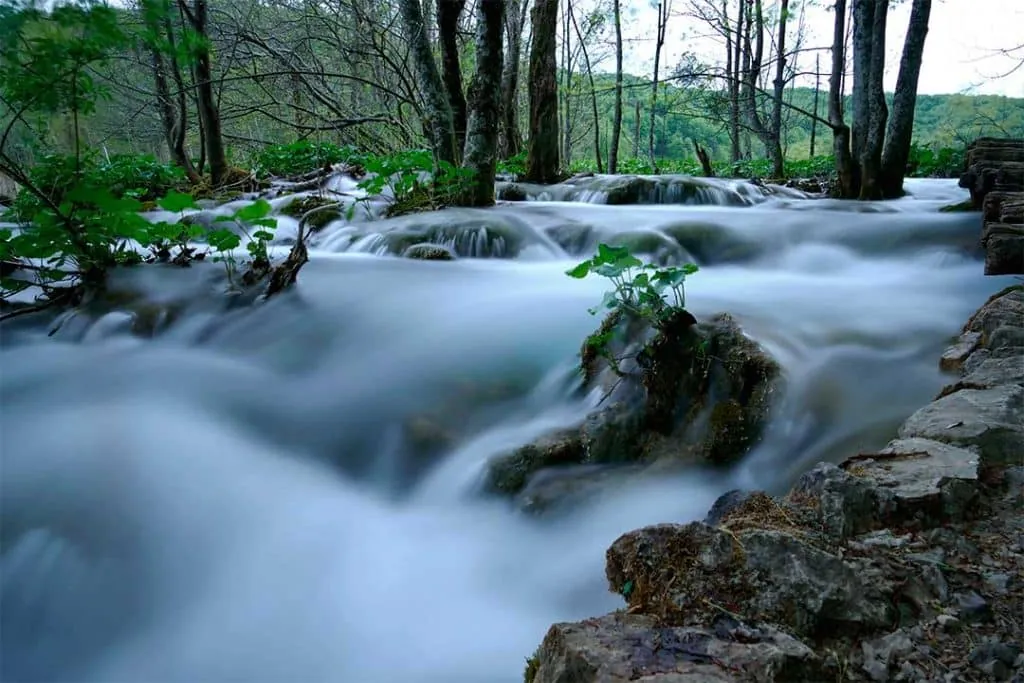
ND filters are a type of filter placed in front of the camera lens to reduce the amount of light entering it. This allows for a longer exposure time, which can lead to some interesting effects. For example, ND filters can be used to capture the movement of clouds or water, as well as to create a shallow depth of field.
Landscape photographers often use ND filters to capture the beauty of sunrise and sunset, when the light is softer and there is less contrast. These filters can also be used to reduce the brightness of the sun in the image, ensuring the landscape looks natural and isn’t overexposed.
If you’re interested in trying ND filters in your own photography, it’s important to choose the right one for your needs. ND filters come in a variety of densities, so make sure you pick one that lets you achieve the desired effect.
Using ND filters in night photography
Night photography can be a challenge even for the most experienced photographers. Without the right gear, it can be hard to capture the night sky in all its splendour.
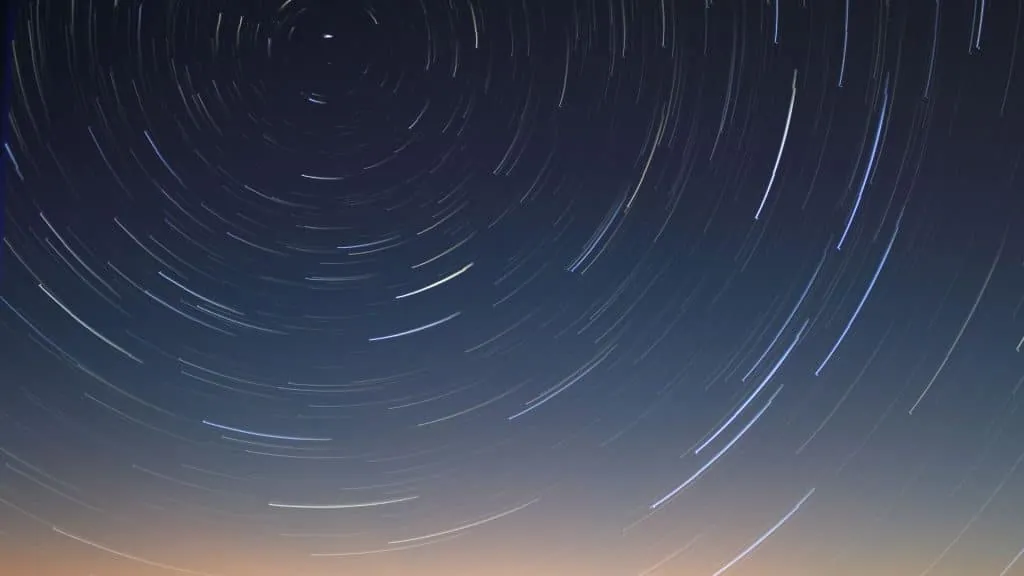
One way to overcome this challenge is to use an ND filter. ND filters are designed to reduce the amount of light entering the camera, allowing for longer exposure times.
This can be especially useful when photographing the stars, as it lets the photographer capture the faintest details. In addition, ND filters can also be used to create other effects, such as blurring moving objects or creating a “light trail” effect.
With a bit of practice, night photography can be a truly rewarding experience. And with an ND filter in your toolkit, you’ll be on your way to capturing some stunning night skies.
Using neutral density filters in portrait photography
In portrait photography, one of the challenges is dealing with the strong contrasts between the light and dark areas of the image. This is where neutral density filters can be extremely useful.
By reducing the amount of light entering the camera, they let you control the exposure without affecting the overall brightness of the image. This can be especially useful when shooting in bright conditions or when trying to capture a shallow depth of field. In addition, using a neutral density filter can help reduce glare and reflections.
In many cases, this lets you capture details that would otherwise be lost in the shadows. For this reason, they are an essential tool for any portrait photographer.

Using neutral density filters in urban photography
With the rise of urban photography, more and more photographers experiment with neutral density filters to help create interesting effects. Neutral density filters are designed to reduce the amount of light passing through the lens, without affecting the colour balance.
This can allow for longer exposure times, which can blur moving subjects or create a dreamy, ethereal look. In addition, neutral density filters can also be used to reduce the contrast between bright and dark areas, helping to even out the exposure.
When used in urban photography, neutral density filters can help create unique and spectacular images.
ND filters in architectural photography
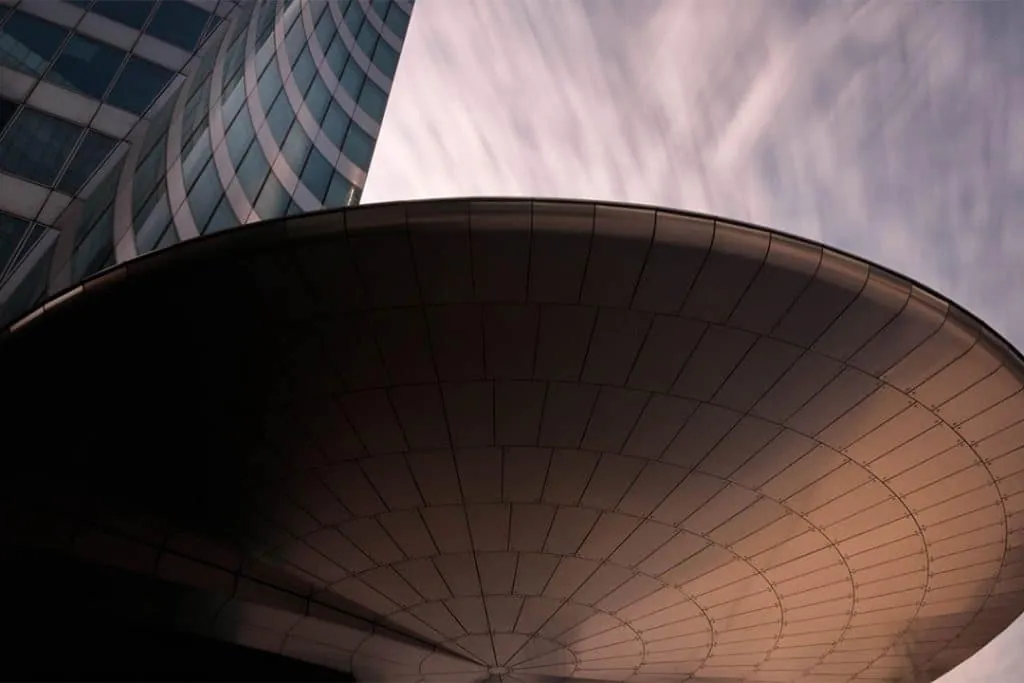
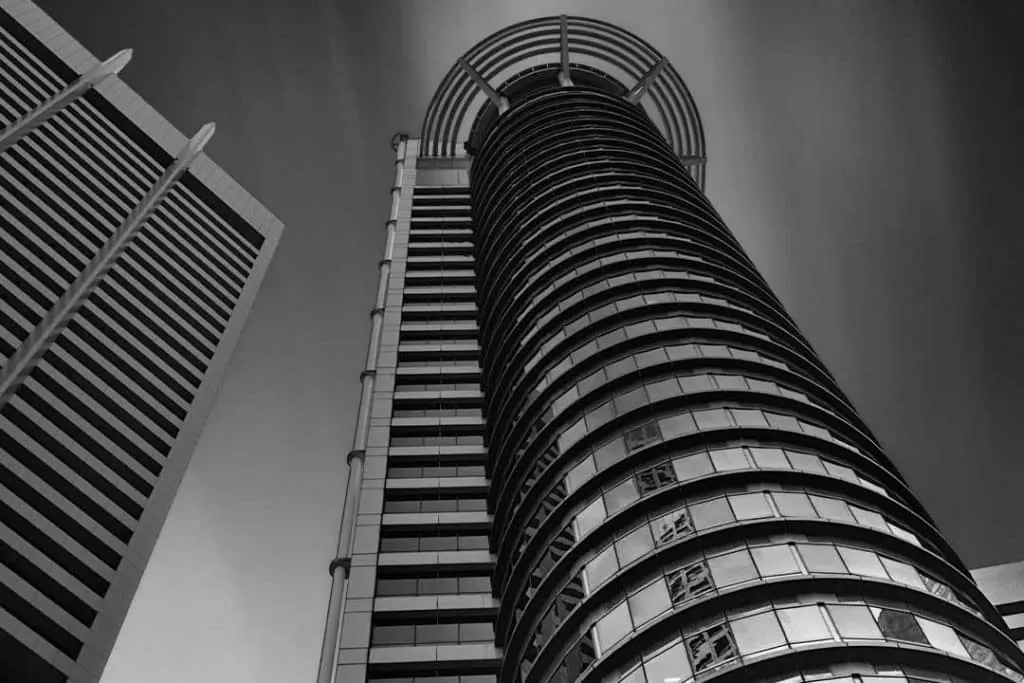
ND filters are a type of filter used in architecture photography. They are used to reduce the amount of light entering the camera, which allows for a longer exposure time.
This is important in architecture photography because it lets you capture the details of the building more clearly. ND filters are available in different sizes, and the size you use will depend on how much light needs to be reduced.
For example, an ND10 filter will reduce the amount of light ten times, while an ND100 filter will reduce the amount of light a hundred times. When choosing an ND filter, it’s important to consider the exposure time you need and how much light there will be.
How to use an ND filter?
To use an ND filter, simply screw it onto the front of the lens. Once it’s on, you can adjust the aperture or shutter speed to compensate for the reduction of light.
Keep in mind that ND filters can cause vignetting, especially at wider apertures. For this reason, it’s often better to use a lower-density filter and raise the ISO if necessary.
With a bit of practice, ND filters can help you capture some stunning images.
Disadvantages of neutral density filters
ND filters can also have some disadvantages. One is that they can make it harder for the camera to focus. As less light enters the lens, the autofocus system may struggle to find a focus point.
In addition, ND filters can cause vignetting, or darkening, at the edges of the frame. This is because less light reaches the corners of the lens.
Finally, ND filters can also introduce a colour cast, making photos appear slightly blue or green. For this reason, ND filters should be used carefully to avoid these possible issues.