You may have seen the term “color grading” in recent years and wondered what it means. In a few words, color grading is the process of manipulating the color of a film or video to create a certain look or feeling.
This can be done for aesthetic reasons or to correct problems with the color. In this blog post, we’ll take a closer look at what color grading is and how it’s done.
What is color grading?
Color grading is the process of manipulating the color of a film or video. It can be done for aesthetic or educational purposes. For example, a film about the ocean can be given a blue tint to create a sense of depth and calm.
On the other hand, a documentary about the Holocaust can be given a muted color palette to convey the gravity of the subject.
Color grading can also be used to correct errors in the original footage, such as oversaturation or undersaturation. In short, color grading is a powerful tool that can be used to enhance the visual impact of any film or video.
How is color grading done?
Color grading is the process of assigning colors to the different objects in a scene. This can be done for educational purposes, such as highlighting important features in a scientific diagram, or for aesthetic reasons, such as making a film look more visually appealing.
There are many different techniques that can be used for color grading, but the most common approach is to use color filters. By carefully choosing the right colors and applying them to different parts of the scene, it’s possible to create a wide range of effects.
Color grading can also be used to correct problems with the colors of a scene, such as making a blue sky look more realistic or removing distractions from a brightly colored object. When done well, color grading can greatly improve the overall look of a scene.
Stages of color grading
There are four main stages in color grading: color correction, color enhancement, color finalization and delivery. Each stage has its own purpose and can be carried out with various software tools.
- Color correction is the first stage and is usually used to fix any lighting or exposure problems.
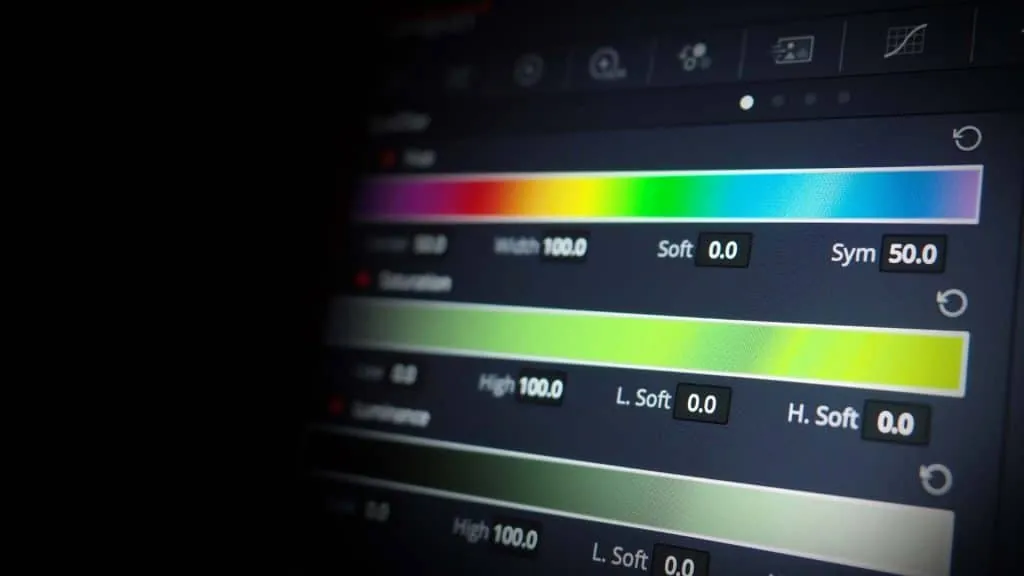
- Color enhancement is the second stage and is used to improve the overall look of the video. This stage can be done using more specialized software such as DaVinci Resolve or Baselight.
- Color finalization is the third stage and is used to make the final adjustments to the video before delivery. This stage can be done with programs such as After Effects or Nuke.
- Delivery is the fourth and final stage, which consists of exporting the video in a format that can be viewed by the client or the audience.
Best programs for color grading
There are many software options available for color grading, and each has its own advantages. In this blog post, we’ll take a look at three of the most popular software options and explain how to get the best results with each of them. By the end, you’ll know which software is right for your project and how to get the most out of it. What are you waiting for? Let’s get started!
DaVinci Resolve
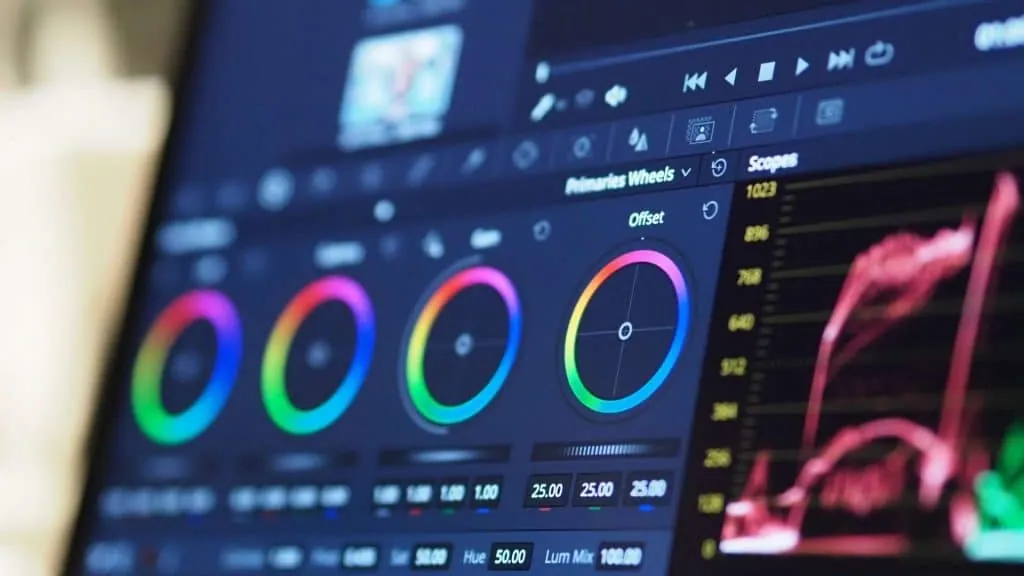
DaVinci Resolve is powerful color-grading software that gives you total control over the look of your project. It’s perfect for those who want to achieve a specific vision or style.
With DaVinci Resolve, it’s possible to make meticulous adjustments to color, contrast and brightness until you achieve the exact look you want. In addition, it has numerous features that let you be creative with color grading, such as curves and keyframes.
To start grading with DaVinci Resolve, you’ll have to import your footage into the software. Once the footage is imported, you can start applying adjustments in the Color tab.
To begin, we recommend experimenting with the global adjustment tools, such as Exposure, Contrast and Saturation. Once you’re satisfied with your overall image, you can start working on specific areas using the node-based grading system. This system lets you make non-destructive adjustments so you can always go back and make changes later if necessary.
Adobe SpeedGrade CC
Adobe SpeedGrade CC is another popular color-grading software that offers a solid set of tools to achieve the desired look. It’s a great option for those who want precise control over their grading or who need to match the look of several scenes or shots. SpeedGrade CC also integrates with other Adobe Creative Cloud applications, making it easy to share projects and sequences between programs.
To start working in Adobe SpeedGrade CC, you’ll first have to import your sequences into the program. Once the sequences are imported, you can start applying adjustment layers in the layer stack.
We recommend starting with an adjustment layer placed above all the other layers so that the adjustments affect all the sequences below. From there, you can add additional adjustment layers over individual clips or groups of clips to make more specific adjustments.
As with DaVinci Resolve, all the changes made in SpeedGrade CC are non-destructive, so don’t hesitate to experiment until you get the perfect look.
Blackmagic Design Fusion 18
Blackmagic Design Fusion 18 is another excellent option for color grading. It offers a wide range of features and a flexible interface that lets users customize their workflow according to their needs.
Fusion 9 is also compatible with 360° videos, which makes it a great option for those working in virtual reality or augmented reality (AR).
Blackmagic Design Fusion 18 offers two distinct workflows for color grading: node-based compositing and timeline-based compositing. Node-based compositing gives users total control over their grading by allowing them to apply unlimited adjustment nodes to their sequences.
Timeline-based compositing, on the other hand, lets users grade their footage using the traditional timeline-editing tools. The workflow you choose will depend on your personal preferences and the needs of the project.
The three software options are excellent choices for grading your footage. Each of them offers a unique set of features and advantages that make them suitable for different types of projects. Whichever software you choose, we hope this blog post has provided you with some useful tips to get started with color grading. Happy grading!
Difference between color grading and color correction
Many people use the terms “color grading” and “color correction” interchangeably, but there’s actually a big difference between the two processes.
Color correction consists of making sure the colors in a video are accurate and consistent. It often involves resolving problems such as white balance, exposure and skin tones.
Color grading, on the other hand, consists of using color to create a certain mood or atmosphere. For example, a filmmaker may want a scene to look more sinister by adding a filter that makes everything look greenish-grey. In general, color correction is an educational process, while color grading is more of an artistic process.
Beginner’s guide to color grading
Many amateurs think that color grading simply consists of making images look pretty. While it’s true that color grading can improve the aesthetics of your films, there’s much more to it than that. Good color grading can help create the mood of a scene and generate feelings in the viewer.
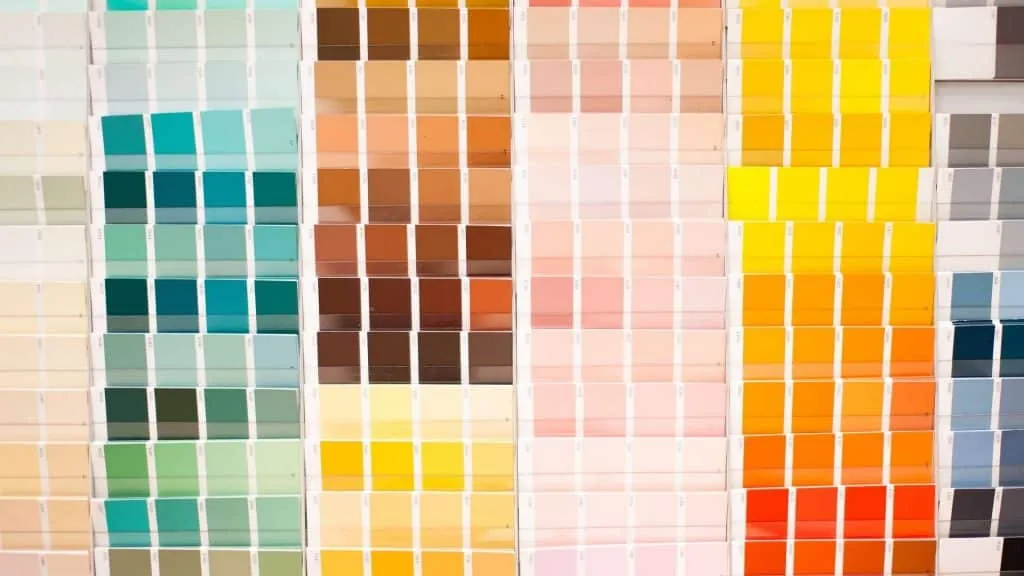
The fundamentals of color palettes
A color palette is a set of colors used together in design. It can be anything from the colors used on a website or an app to the colors used in a painting or a photograph.
When it comes to color grading, your palette is generally made up of three colors: a primary color, a secondary color and an accent color. The primary color should be the most prominent, followed by the secondary, and the accent should be used sparingly to add interest.
There are infinite possibilities when it comes to choosing the colors of the palette. However, it’s important to consider the feeling you want to create with the film before settling on a specific set of tones.
For example, if you’re trying to evoke feelings of anger or rage, you may want to use a red-based palette. Conversely, if you’re after something calmer and more serene, you can opt for blues and greens.
The importance of filters
In addition to choosing the right colors, it’s also important to use filters carefully when grading color. Filters can help highlight colors or tone them down so they blend in perfectly. They can also be used to correct lighting problems or reduce reflections. As with colors, the type of filter you use will depend on the mood you want to create with your film.
For example, if you want to create a feeling of unease or tension, you can try using a blue filter. Blue filters are often used in horror films to give scenes an unsettling feel. On the other hand, if you’re after something more romantic or dreamy, you can experiment with pink or yellow filters.
History of color grading
Knowing the history of video color grading can be educational and inspiring. It can help us understand how the art of color grading has evolved over time and how it’s used today.
Color grading is the process of correcting or enhancing the color of a video. It’s often used to correct mismatches between cameras or to make a video look more consistent overall. Color grading can also be used to create certain visual effects, such as making a scene look more vibrant or changing the mood of a scene.
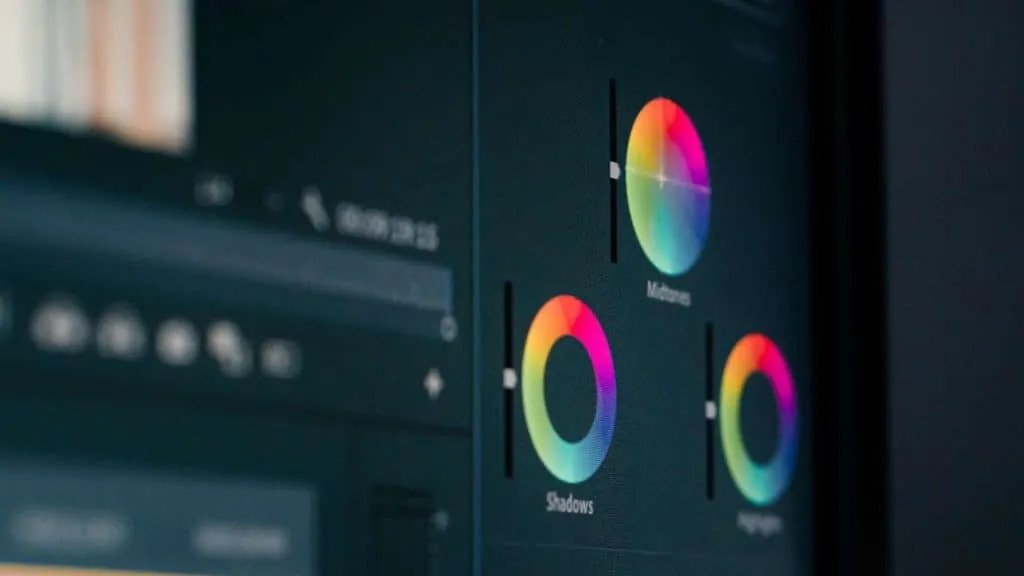
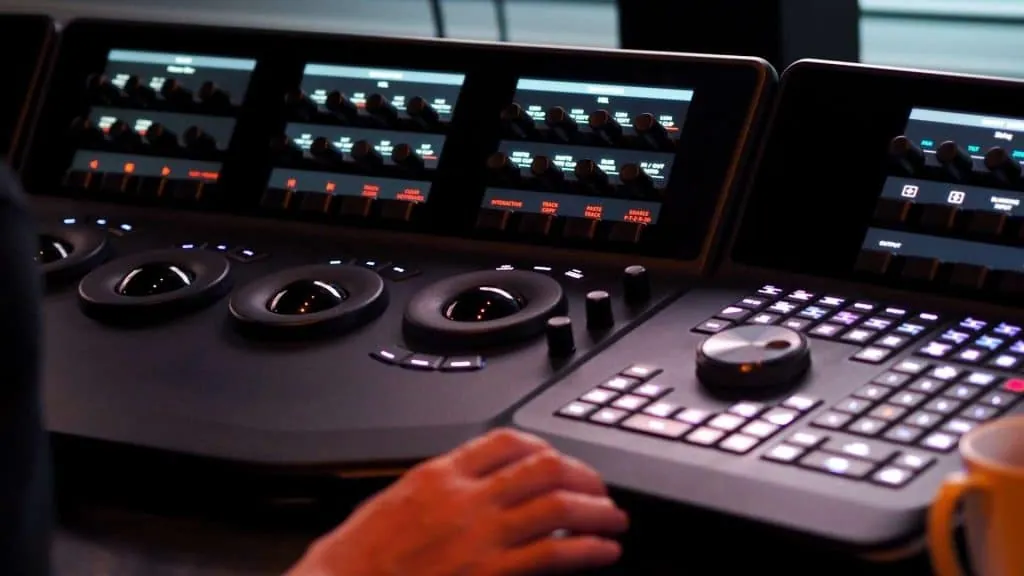
Traditionally, color grading was done with physical tools, such as film strips and physical color wheels. Today, most of the time it’s done digitally, using software such as DaVinci Resolve. This software gives colorists much more control over the process and lets them make very precise adjustments.
Color grading is an important part of the post-production process and can have a big impact on the final look of a video. That’s why it’s often left in the hands of experts. But with the right tools and some practice, anyone can learn to grade color like a professional.